
Standard printer paper (20 lb / 75–80 gsm) is lightweight, delicate, and relatively smooth. While it’s the most accessible option for printing home coloring pages, it presents unique challenges: heavy pressure can easily tear or crease the page, and aggressive blending can turn vibrant colors into a smudged, muddy mess.
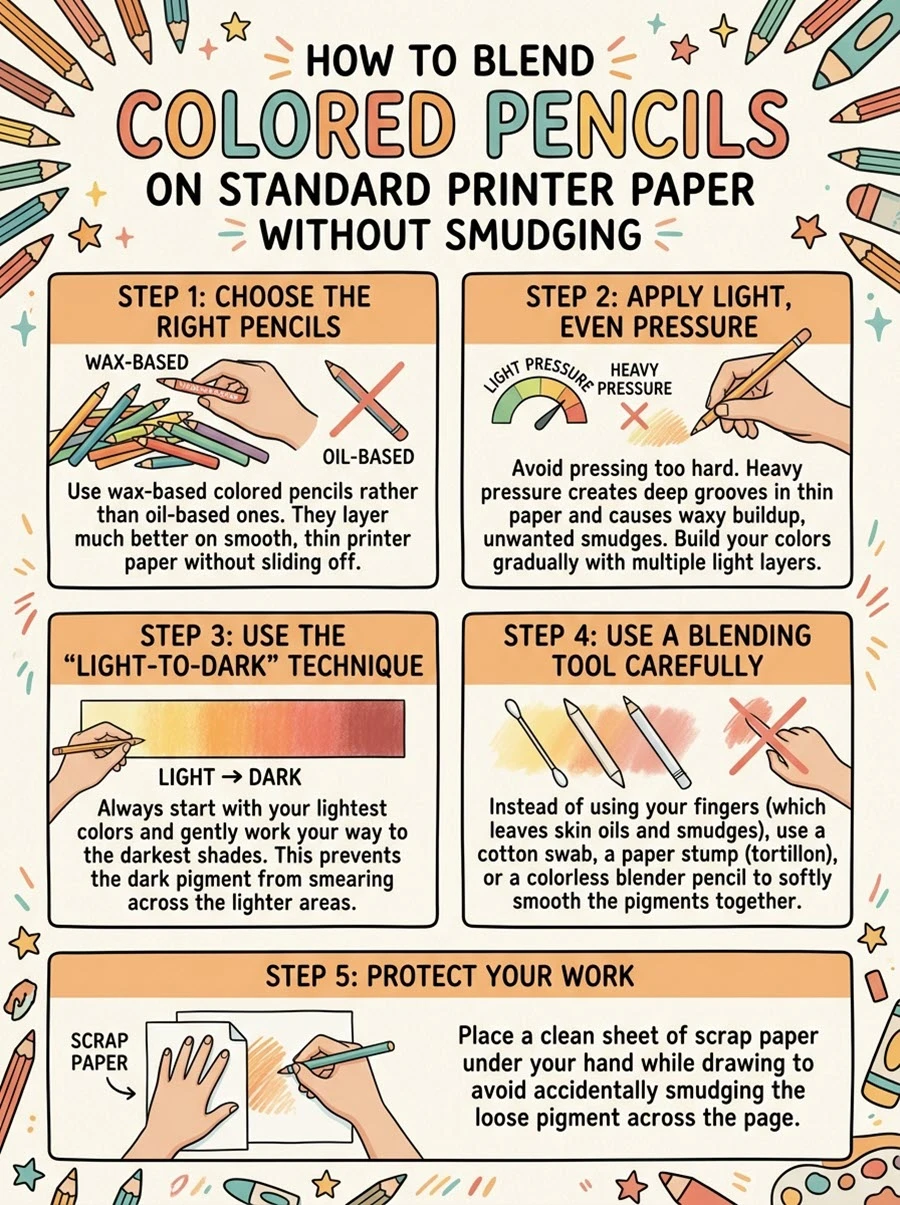
With the right light-touch techniques, dry blending tools, and simple precautions, you can achieve smooth, streak-free gradients even on thin paper.
The Core Challenge: Printer Paper vs. Cardstock
To blend successfully on printer paper, you need to understand its limitations:
Low Tooth: Printer paper lacks the deep texture ("tooth") of cardstock or watercolor paper. It cannot absorb dozens of heavy layers.
Low Moisture Tolerance: Solvents (like alcohol or baby oil) penetrate standard paper quickly, causing ink bleed-through, warping, or tearing.
Easy Smudging: Loose pigment sits on top of smooth paper fibers, making it easy to accidentally smear with your hand.
Step 1: Protect Your Work Area to Prevent Smudging
Before laying down any color, set up your space to prevent hand smudges and paper creasing:
Use a Hard Backing Sheet: Standard paper flexes when you press on it. Place a piece of smooth cardstock or a clipboard directly underneath your coloring page to create a solid, flat foundation.
Rest Your Hand on a Guard Sheet: Place a clean, loose sheet of paper under your palm while drawing. This prevents natural oils from transfering to the paper and keeps your hand from dragging pigment across the page.
Keep a Soft Brush Handy: Never sweep away pencil dust with your hand—this causes instant smudges. Use a soft makeup brush or drafting duster to gently sweep away loose crumbs.
Step 2: Master the Light-Pressure Layering Technique
Because printer paper has low tooth, applying heavy pressure immediately flattens the fibers and locks the surface, leaving nowhere for blended pigments to go.
Hold the Pencil Back: Hold your pencil at a 45-degree angle near the middle or end, not near the sharp point.
Use Micro-Circles (Circulism): Move the pencil in tiny, overlapping circular motions rather than straight back-and-forth strokes. This eliminates harsh pencil lines and distributes pigment evenly.
Build Color Gradually: Apply 3 to 4 very light layers rather than 1 heavy layer. Keep each layer faint until the colors naturally begin to merge.
Step 3: Choose Safe Blending Methods for Thin Paper
Avoid liquid solvents (like odorless mineral spirits or heavy oils) on thin 20 lb paper, as they cause buckling and reverse bleed-through. Instead, rely on these dry blending techniques:
Method A: Light Colored Pencil Blending (Safest & Most Natural)
How it works: Use a light shade (like cream, light gray, or light pink) from your pencil set to bridge two darker colors.
Technique: Lightly shade over the boundary where two colors meet using small circular strokes. The light pigment gently pulls and fuses the neighboring colors without damaging the delicate paper surface.
Method B: Colorless Blender Pencil (Wax/Oil Based)
How it works: A colorless blender contains binder without pigment. It smoothes the paper’s surface and binds the existing colored pencil layers together.
Technique: Build up your color layers first, then go over the transition zone with your colorless blender using moderate, controlled pressure.
Method C: Dry Paper Stump / Tortillon
How it works: A tightly rolled paper stump uses dry friction to smear and smooth pencil particles without adding extra wax or moisture.
Technique: Rub the tip of the tortillon gently in small circular movements over the color boundary. Keep pressure light to avoid ripping thin paper.
Step 4: Step-by-Step Workflow for a Smooth Gradient
Here is a quick workflow example for blending two colors (e.g., Blue into Light Blue) on standard paper:
Base Layer: Apply a super-light layer of Light Blue over the entire target area.
Shadow Area: Apply a light layer of Dark Blue starting from the outer edge, stopping halfway into the area.
Overlapping Transition: Take your Light Blue pencil and lightly shade over the boundary where the dark and light blue meet.
Second Pass: Repeat step 2 and 3 with slightly more coverage to deepen the contrast.
Final Polish: Use a colorless blender or tortillon over the blend area to erase remaining white paper specs.
Quick Do’s and Don’ts for Printer Paper
Do use a hard backing surface under your page / Don't press hard on your first layer
Do place a sheet of paper under your hand / Don't wipe pencil dust away with your palm
Do use circular strokes to avoid harsh lines / Don't apply alcohol or liquid solvents on thin paper
Do keep your pencils sharp for even laydown / Don't exceed 4–5 heavy layers on 20 lb paper